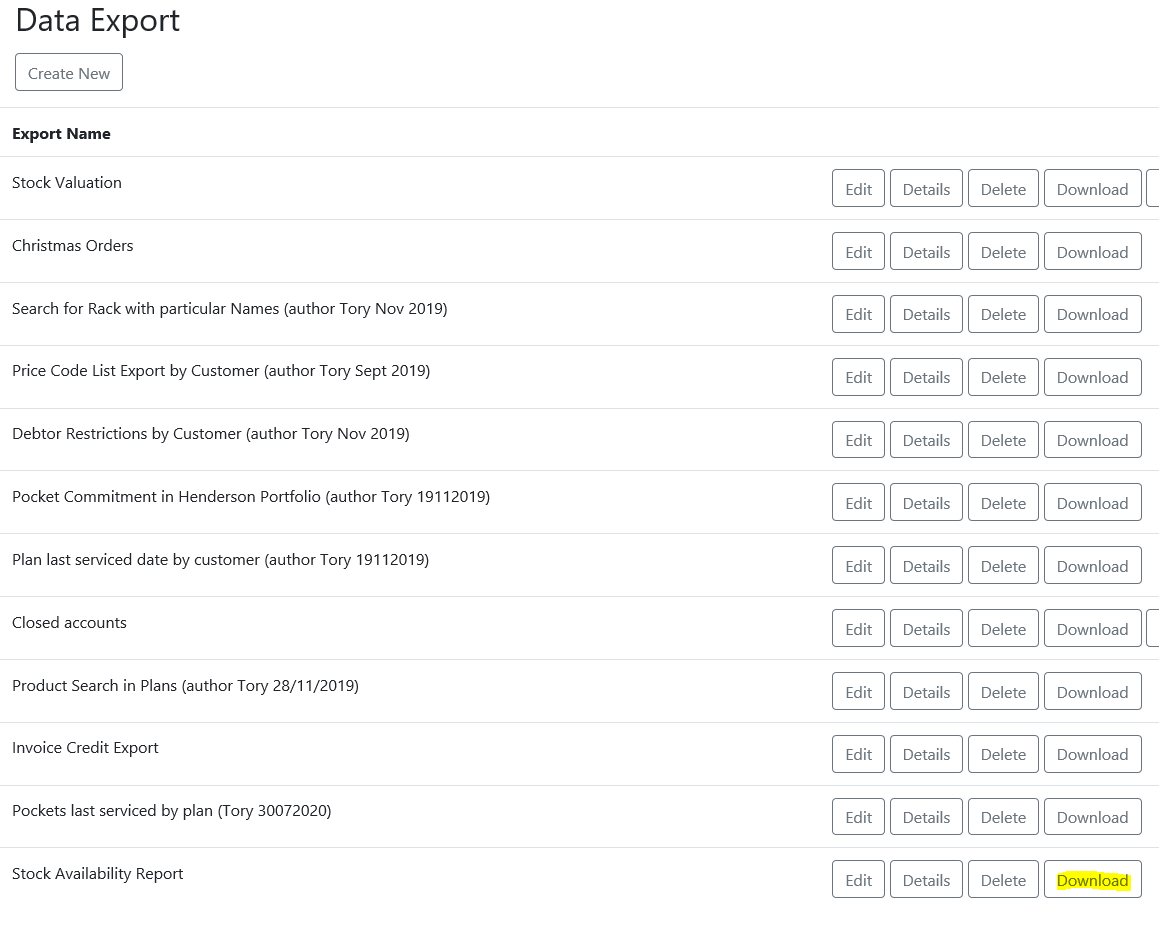
The Data Exporter allows you to build and run flexible reports from the data available within CM.
Once built, a Data Export can be run at any point and saved to location on your computer or the Server.
Data Exports can also be scheduled to be emailed out to a set of specific email addresses for given dates/times via the CM Web "Scheduler".
Creating a Data Export
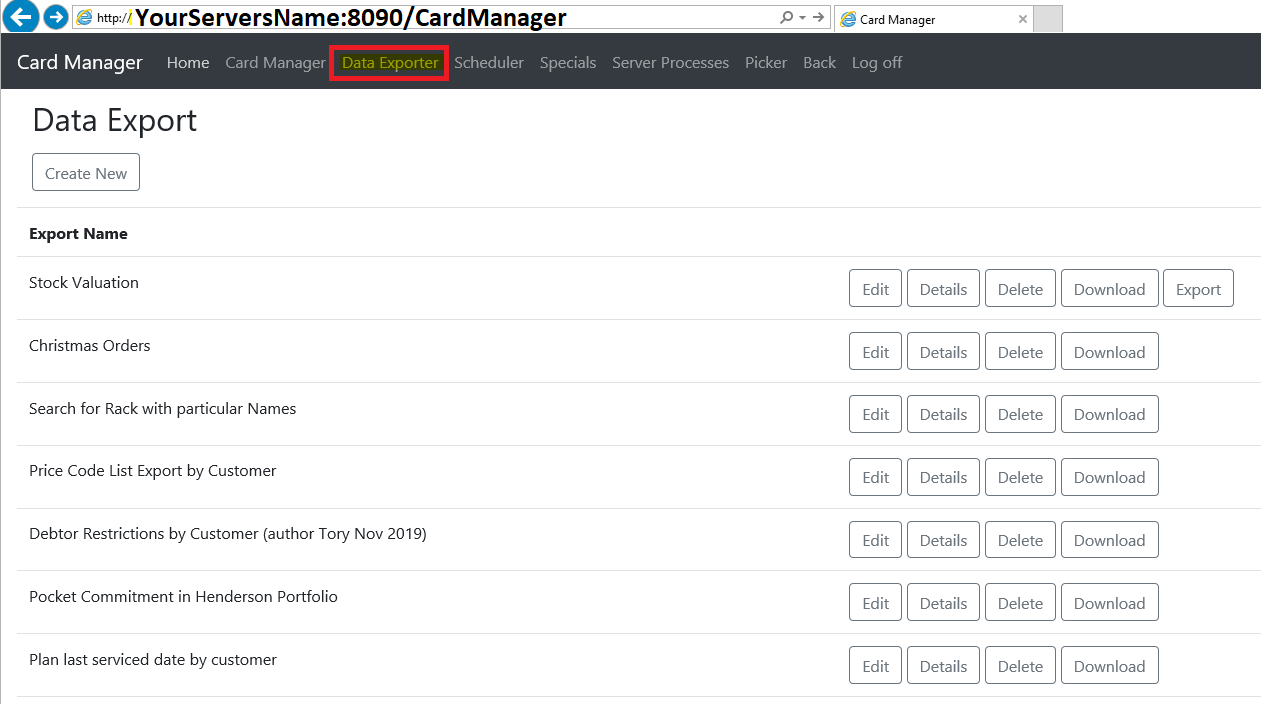
1. To create a report, first login to CMWeb and enter your CM username and password details.
2. Next, click "Data Exporter" and click "Create New".
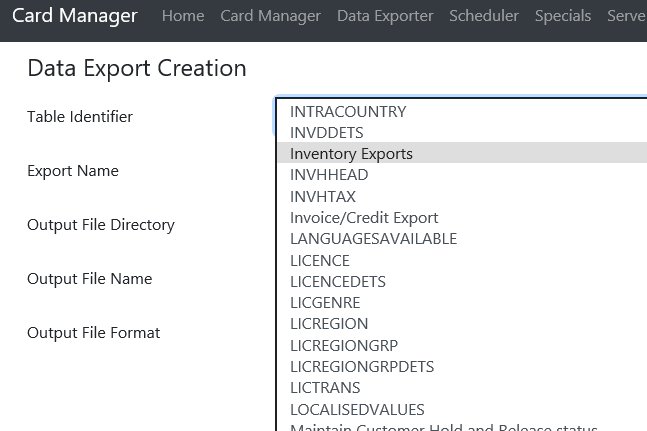
3. Select a Table Identifier (table/object from the CM Database) you would like to report on:
- 'Inventory Exports' - commonly used stock and inventory details
- 'Plan Details' - Planning and Pocket information
- 'Order Export' - Order status and details
- 'Customer' - Customer file details
Then enter populate the remaining fields and click "Create"
4. Next click on your newly created report's "Details" button, and then the "Fields" button to begin selecting your fields for your report.
Use the "Add" button and dropdown buttons to select fields of interest.
Then Click "Save" to save your report changes.

5. Next, apply any filtering criteria/rules that you would like to apply to your report data (eg. exclude discontinued designs)
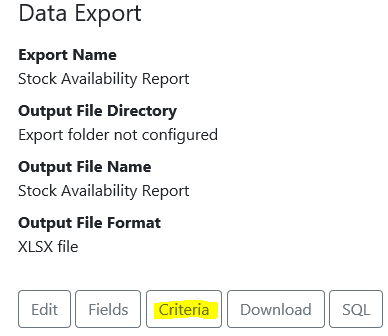
Click the "Criteria" button and click the "Add" button to add any number of new criteria for your report.
Then select suitable criteria as necessary:
- 'Criteria Field' - the field to filter against (eg. 'Discontinued')
- 'Criteria Type' - the expression/how to filter the data by (eg. '=')
- 'Criteria Value' - the value your Criteria must match (eg. '0')
(this example, would ensure only non-discontinued designs were reported on)
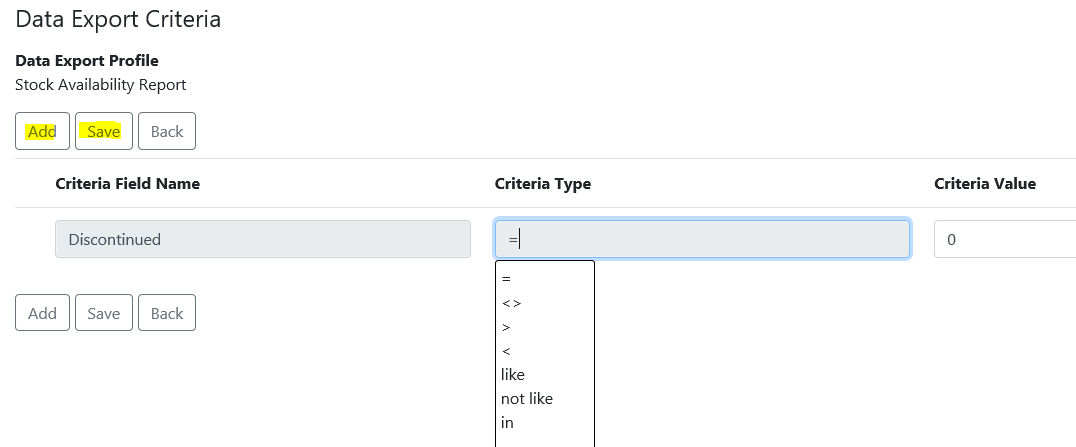
Lastly, click Save to apply your Criteria.
Running Data Exports
Click the "Download" button next to your report to save a copy of the report.
